Jul
to Aug 1 at 5:00 PM
Canton, GA 30115, USA
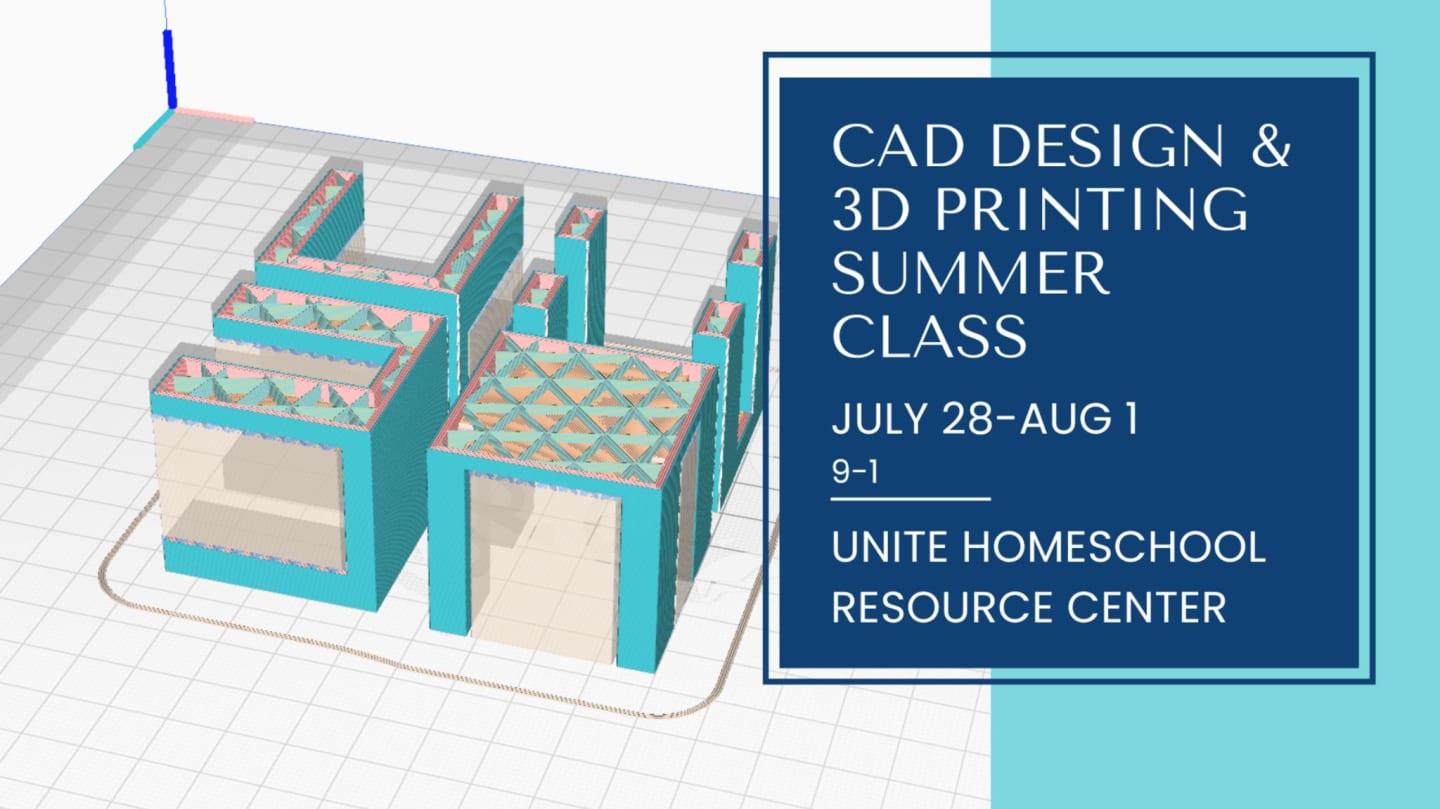
This class is open to students (age 11-15) who have an interest in learning the basics of CAD design and 3D printing. This is a drop off only class.
We will be reaching out to parents to determine an optional parent assistant for some of the days. Preference will be given to parents we already have a background check on.
Students will be required to access the internet on their computers, in order to use the CAD Designer. If they wish to save their work, a personal account will be needed. (Instructions will be sent to parents ahead of time in order to allow account creation at home.)
Class meets at the Unite Homeschool Resource Center:
2499 Palm Street, Suite 400, Canton, GA (We suggest using Cherokee Flooring Center in the GPS.)
Students need to bring:
Day 1: Introduction to 3d printing
Software setup. Students will create a free Onshape account and download Ultimaker Cura Discussion of 3d printing as a whole. The differences between FDM, SLA, and SLS 3d printing will be discussed. FDM will be used for this class. Use-cases and limitations of FDM 3d printing. Discussion on advantages of 3d printing over traditional manufacturing techniques. Strength and geometry limitations will be discussed. There will be a demonstration on the failure of 3d printed parts due to layer separation, dos and don’ts of using support material, and tips on the correct placement and orientation of parts on the print bed.Day 2: Building blocks of CAD
Students will learn the basics of sketching, dimensioning, and constraining in CAD. Students will learn the four basic geometric operations used in CAD– extrude, revolve, sweep, and loft. Students will create shapes based on these sketching and geometry operations. Students will choose one of the parts that they created to have 3d printed. The instructor will guide students through exporting the parts from CAD and using slicing software (Ultimaker Cura) to generate gcode for use in 3d printing. More thorough discussion on print settings, such as infill pattern and density. The first print will be started; students will receive their parts the next day.Day 3: Complex geometry
Students will learn how to combine the operations learned in day 2 to create more complex parts. More advanced sketching operations— mirrors, spline curves, and linear patterns— will be introduced. The instructor will guide students through creating a model katana (or a different type of sword, if students prefer). The model swords will be sliced and the print will be started. Discussion on compromise between part strength and less support material.Day 4: Multiple parts, motion, and assemblies.
Students will learn how to create multiple parts in a single parts studio. More complex referencing and 3d geometry concepts will be introduced, such as reference planes and merge scope. Students will create a moving assembly in CAD. Discussion on different types of mates (stationary vs revolute). Discussion on how parts may not be printed exactly according to CAD and how to dimension with this in mind. Individual components of the assembly will be sliced and the print will be started.Day 5: Flex day
First, the individual components from day 4 will be assembled. For the rest of the day, students will be able to work on individual projects and the instructor will help them. Several parts will be provided for students to measure and create models of, if they would like.
6 left!
3 left!
Did you know? We fundraise with Zeffy to ensure 100% of your purchase goes to our mission!